Did you know that Lovin’ Lit has an American History Curriculum?
Yes, the middle school literature teacher created an American History Curriculum!
It was a huge undertaking, I loved creating it, and I want to share everything you need to know about my American History resources.
Read on to get a complete bundle FREE!
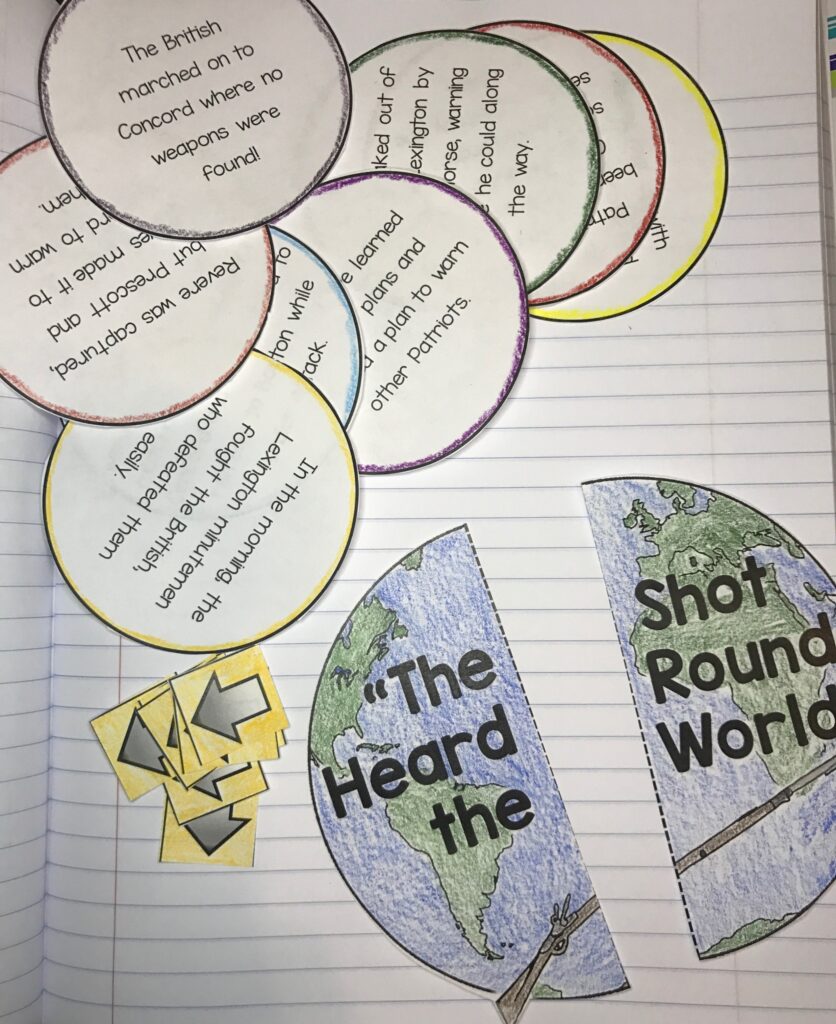
This project first started as a standalone interactive notebook for American history. If you have used any of my interactive notebooks for ELA, you know that I like to create lessons and activities that are ready to go with little to no prep from you. And I like to include EVERYTHING you need to teach each lesson so that you don’t have to spend extra time researching and finding and refining content. So, when I started creating interactive notebook pages in isolation, I realized something. The activities were super engaging. They absolutely made contextualizing history concepts easier for students. But there just wasn’t enough. It wasn’t all there. Then I realized a standard interactive notebook in this case would leave too many extra things for you to have to piece together. Of course, if you prefer to piece things together yourself – no judging, I always did! – I’ve made each component available separately as well.
Another big challenge with creating an American History curriculum is the nearly impossible task of including Every. Single. Important. Fact. from history. I’ve spent hours researching various state curricula and commonly used textbooks to be sure I include the most important information and concepts. Still, I know there will be times when you want to add or even take away something. For this reason, I’ve made virtually the entire curriculum editable. That’s right. You can edit the interactive notebook pages, PowerPoint presentations, and even tests and study guides.
Let’s take a look at everything!
Let’s take a close look at Interactive Notebook activities. They really are the heart of the curriculum. There are twelve units, and I’m going to use one of the first units I released, Unit 4 The American Revolution, to go through everything you need to know!
Each unit has three lessons. Each lesson should take about a week to teach, setting the pace at about one unit every three weeks. Of course, you can customize this based on the number of minutes you have each week for history and/or how many activities you choose to incorporate into your lessons.
Each lesson contains four components: vocabulary, people, events, and big ideas.
Vocabulary is one of those components that just has to be in my social studies interactive notebook. Understanding and applying content vocabulary is huge, and I wanted to make that as easy and streamlined as possible.
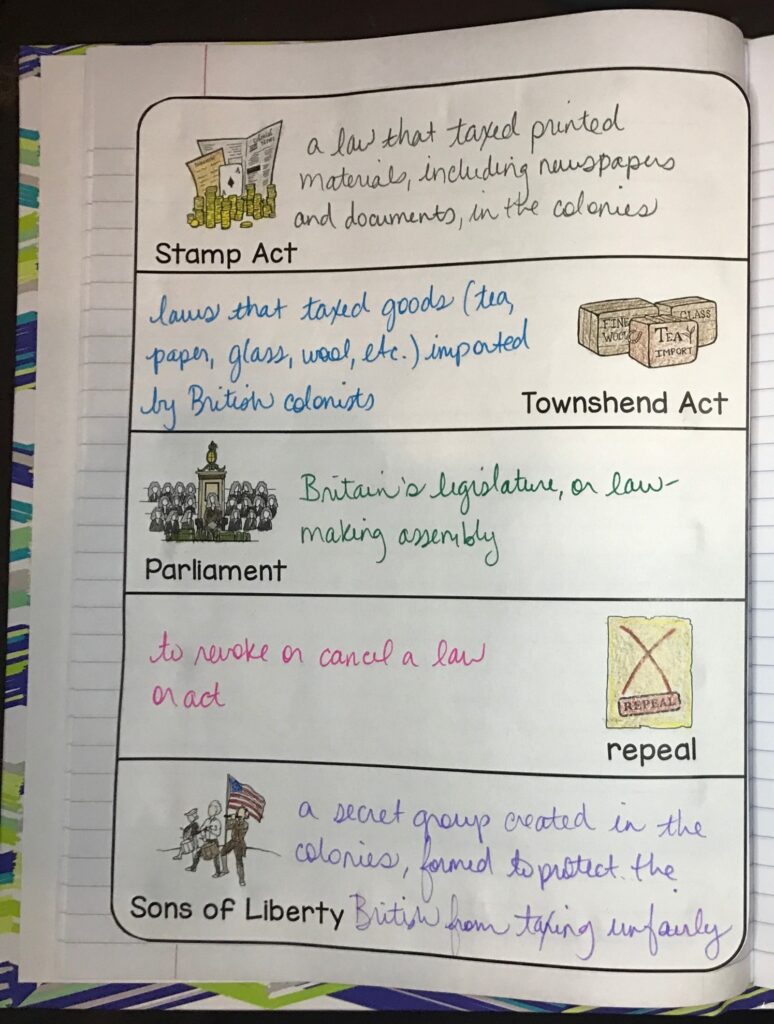
Each lesson contains a vocabulary foldable (or two for those lessons with more than ten words). For each lesson, students will create a page like the one below and write definitions under the tabs. As always, coloring is optional but recommended as it helps seal that image into their minds to associate with the new word they are learning. It’s a visual learner’s heaven, and it helps to occupy those busy little hands. Of course, I have included the definitions for you so that you don’t have to look them up, but if you prefer your own wording that is always an option as well.
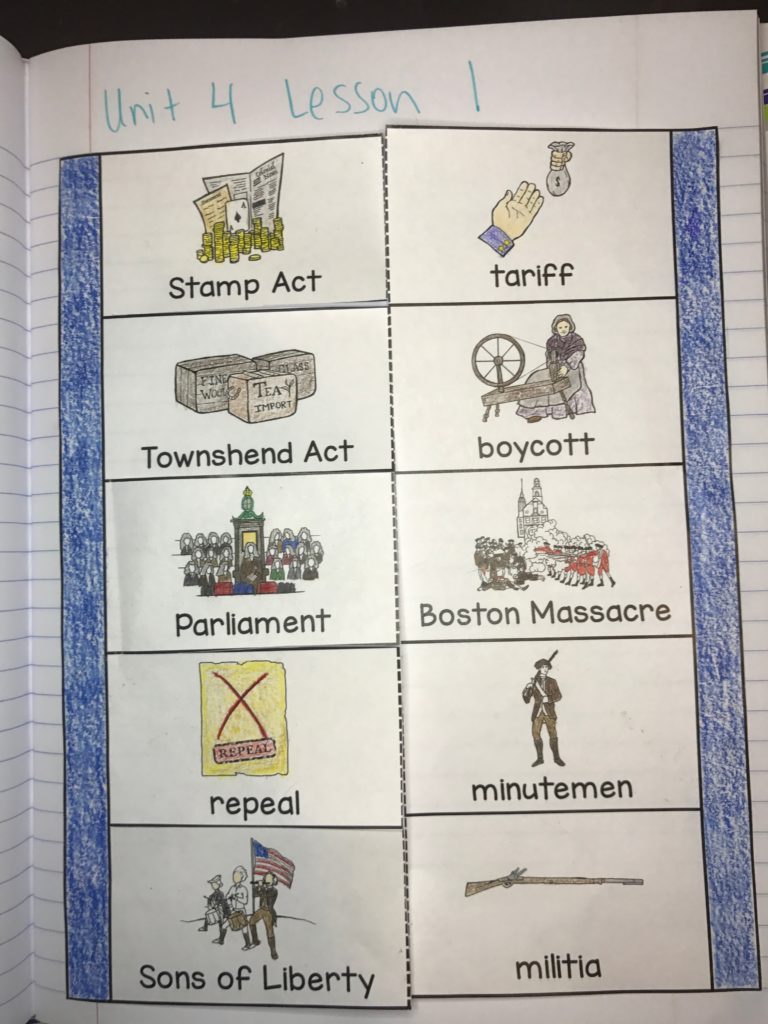
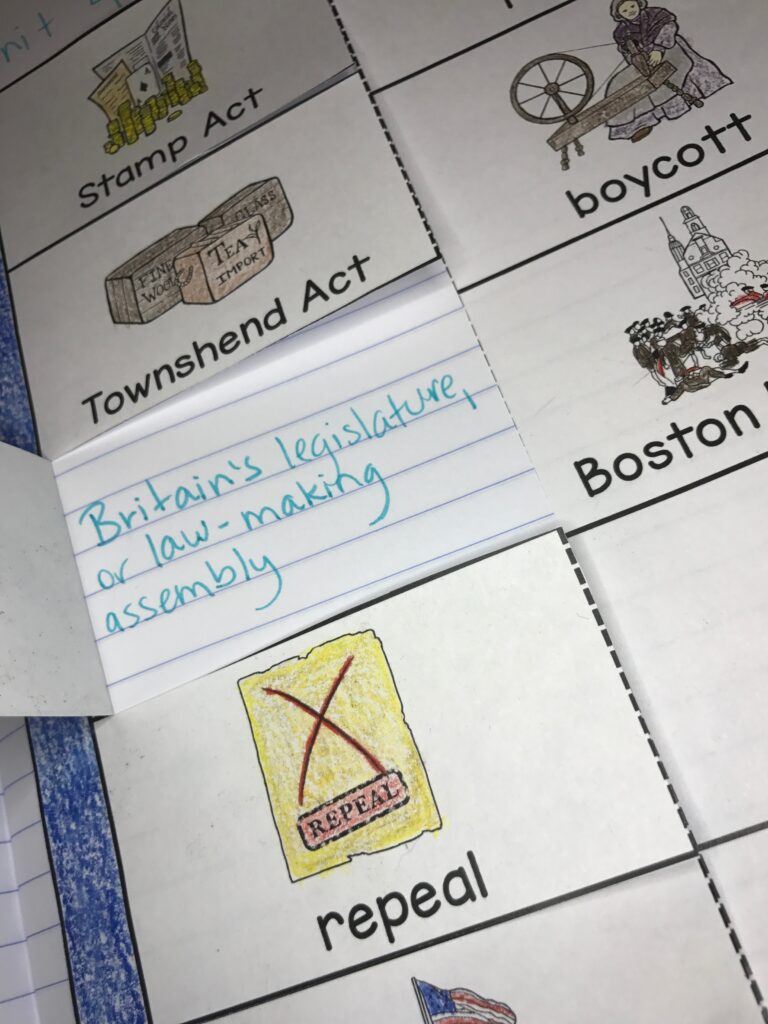
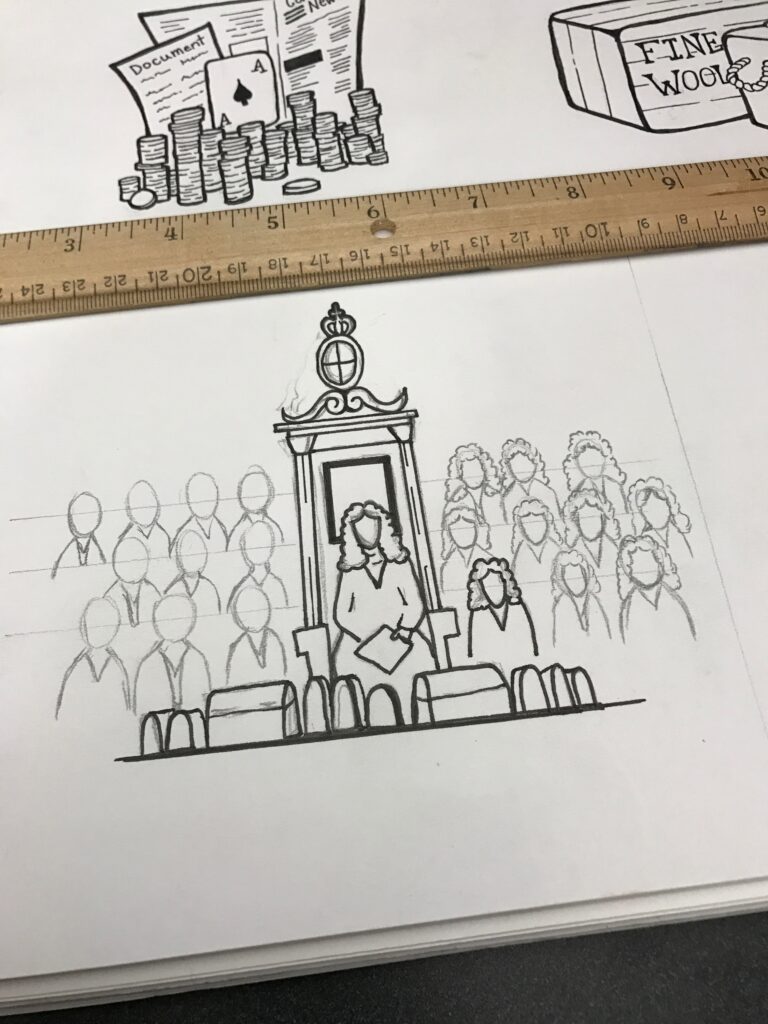
I also wanted to help students make real connections with these content terms, so I commissioned the help of my favorite artist, Heidi Babin of the Doodle Oven.
As you can see, Heidi has made a beautiful and unique image to go with every single vocabulary word.
She has also created illustrated event timelines, beautiful event posters, and event coloring activities. Everything coordinates with my American History Curriculum. Check out all of her American History visual learning products here!
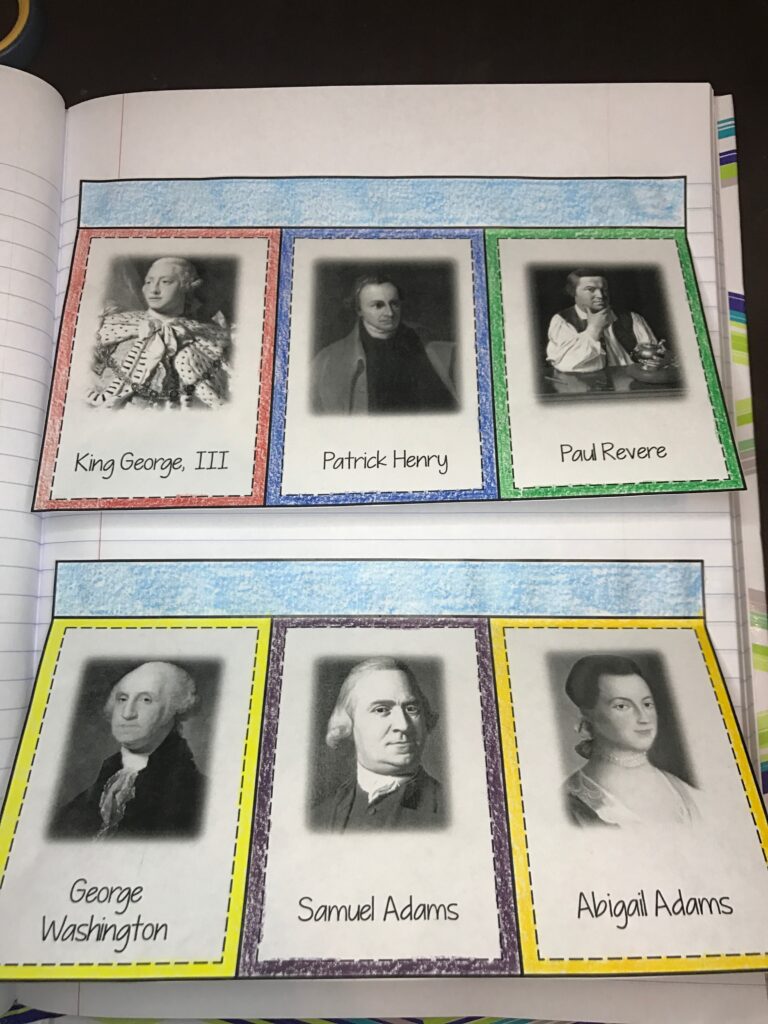
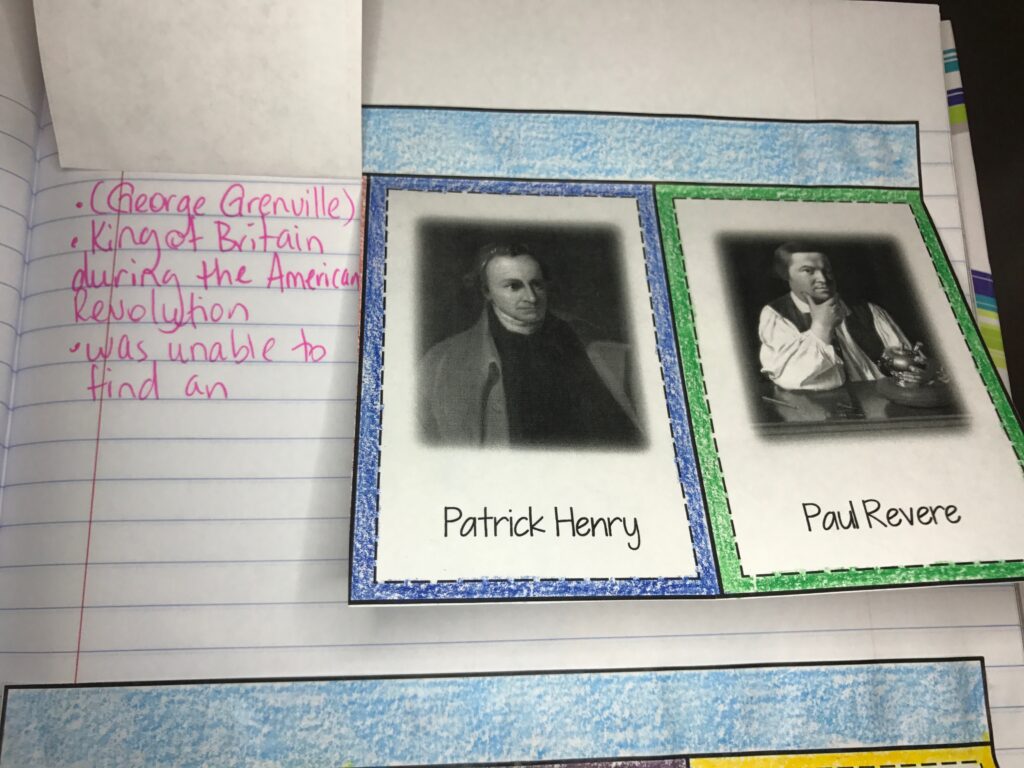
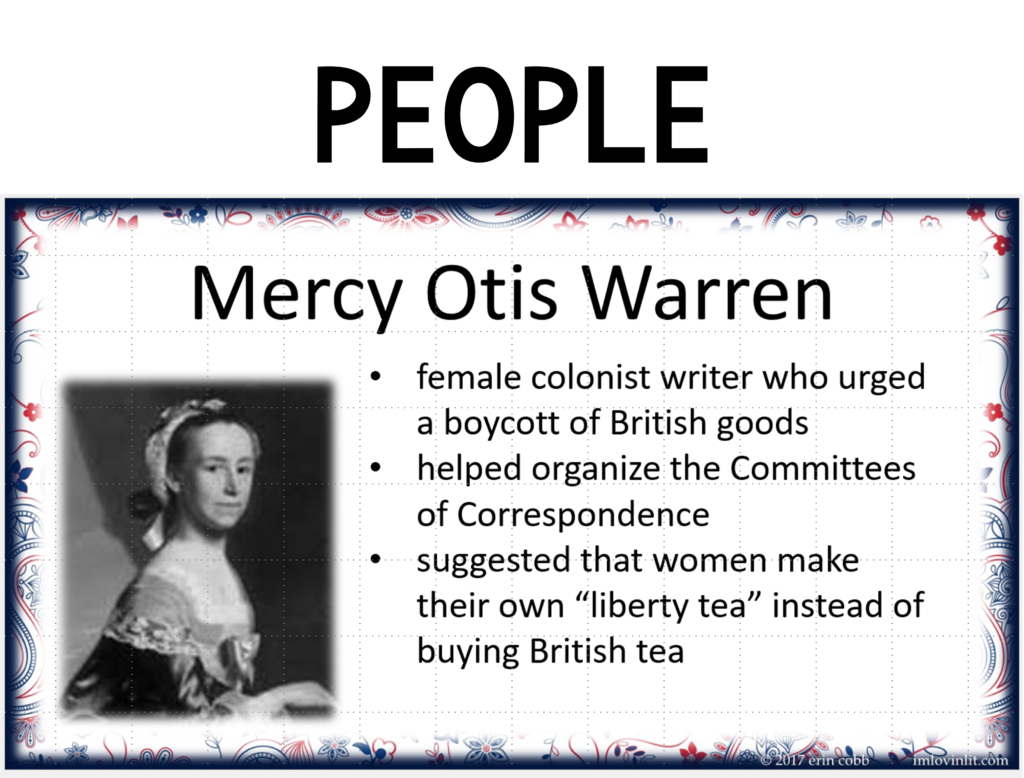
Once again, I felt like I couldn’t create history activities for any lesson without dedicating some significant real estate to those who actually made the history. So, each lesson includes a People foldable activity like the one below. Please note that all photo images used in my social studies resources are royalty free, public domain photos. I feel like it’s important to include the real faces of these important historical figures and not over-stylized clip art images. And you know I’ve included all the relevant notes for each person, so feel free to use mine, simplify them, or add to them as you see fit.
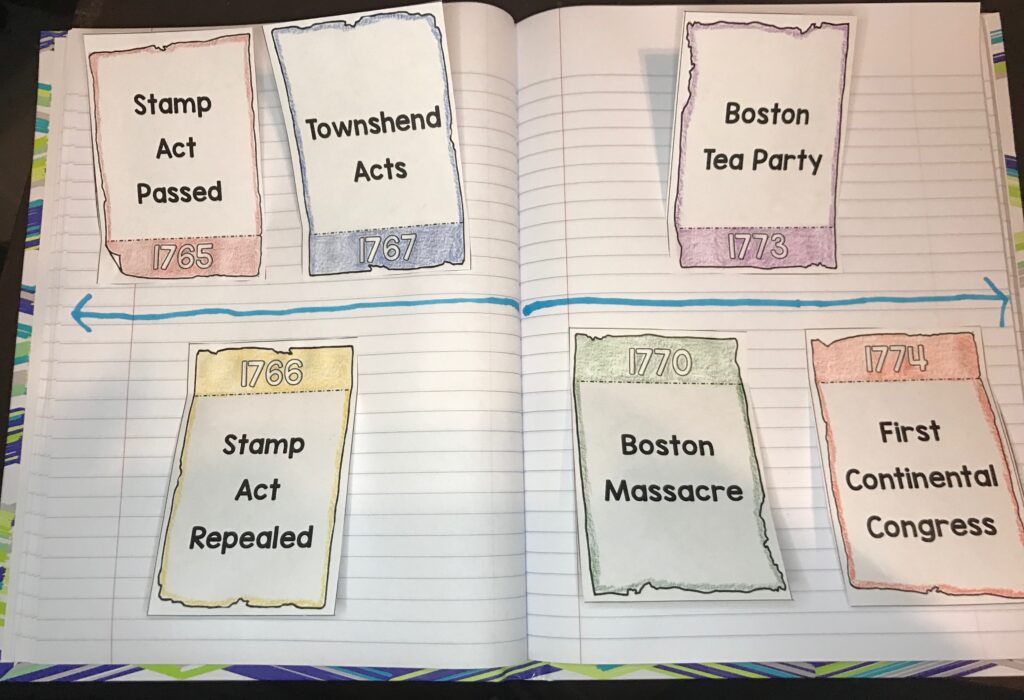
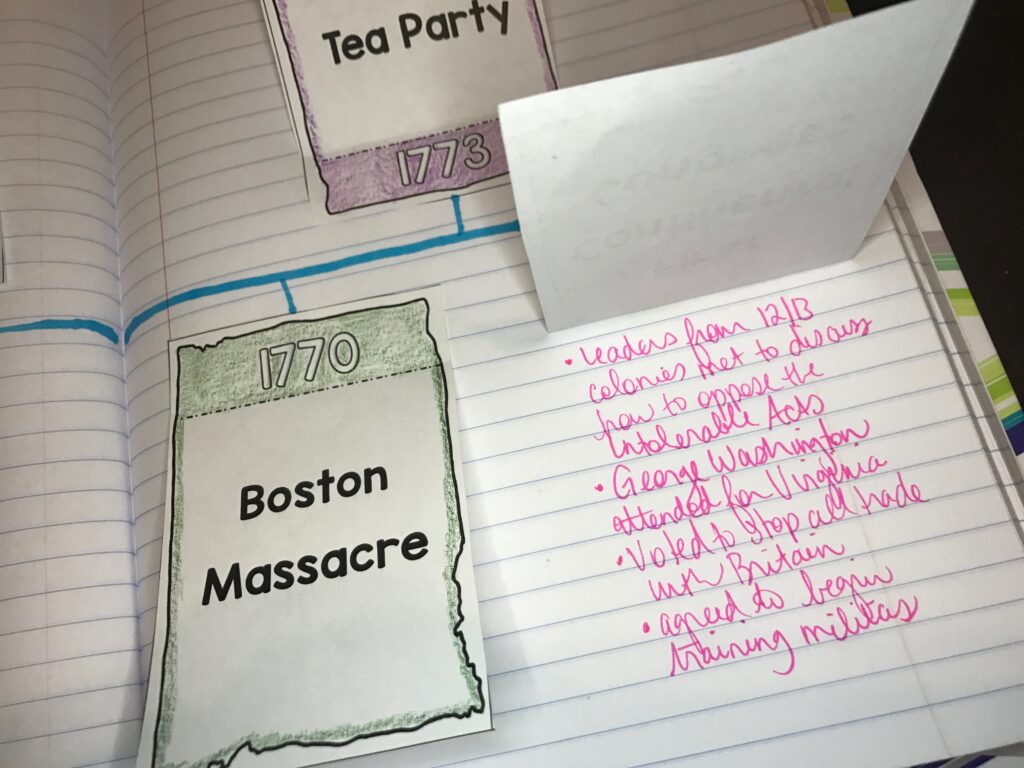
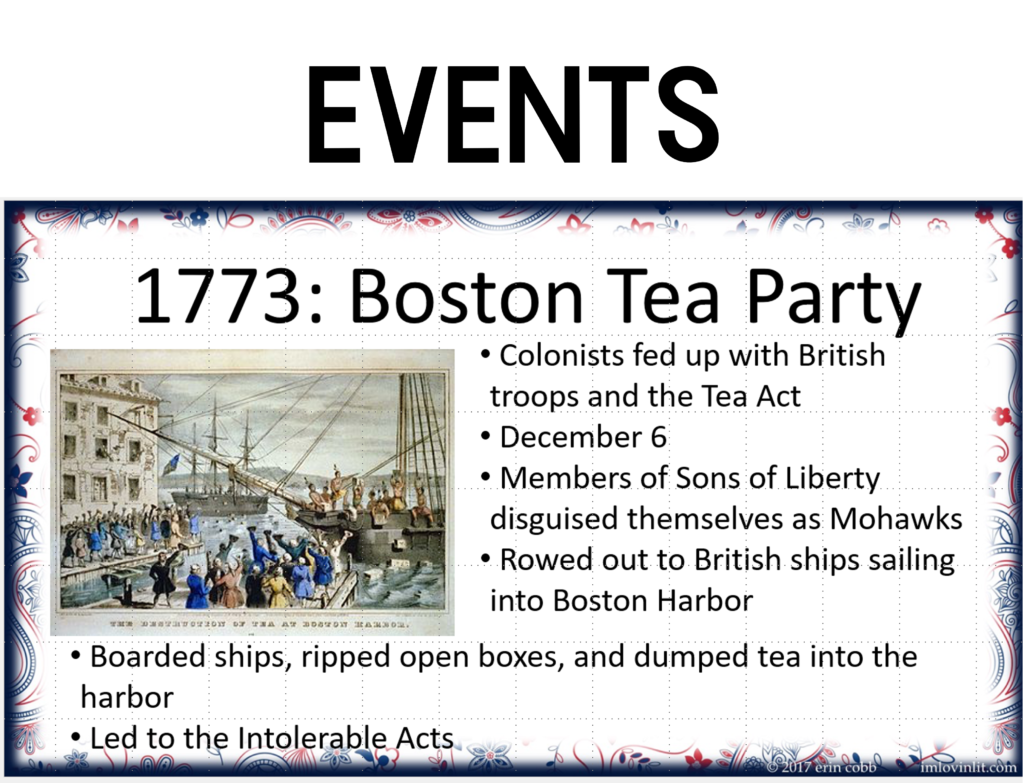
The timeline in each lesson can be thought of as the backbone of the lesson. History is the story of the past, and each topic is focused around specific events. Here you’ll find the most important events that make up that story. The timeline templates are very flexible – you can make one continuous timeline for each unit (recommended), or you can break them up and make a separate timeline for each lesson. I have included my own extensive notes for every event so you can use mine, edit mine, or replace them with your own.
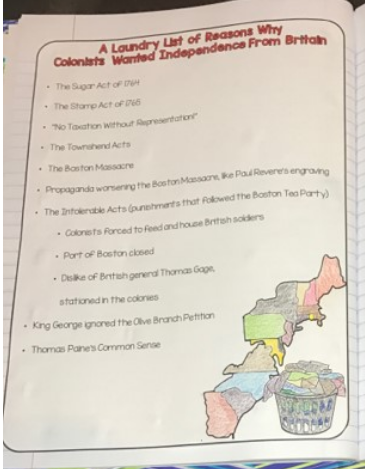
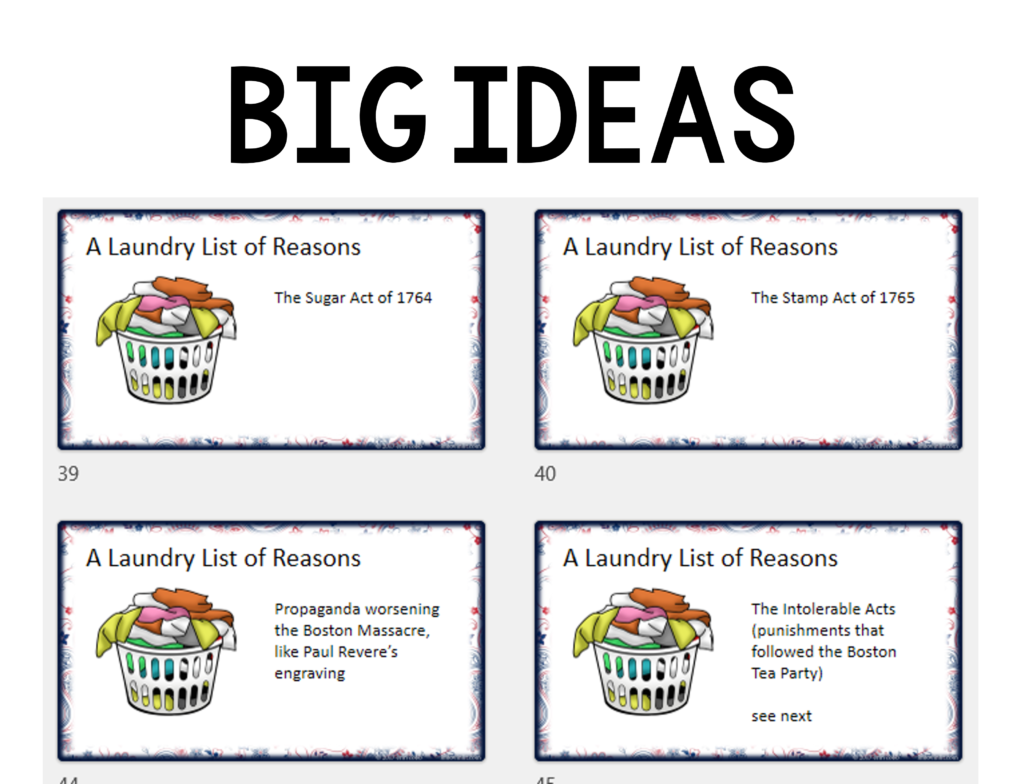
The final component to the interactive notebook is Big Ideas. For every lesson, I have designed 2-4 Big Ideas pages to include the most relevant information that is not adequately covered in the Vocabulary, People, and/or Events. These Big Ideas pages vary GREATLY among the type of content included.
Here are some examples of Big Ideas pages from Unit 4.
Example 1
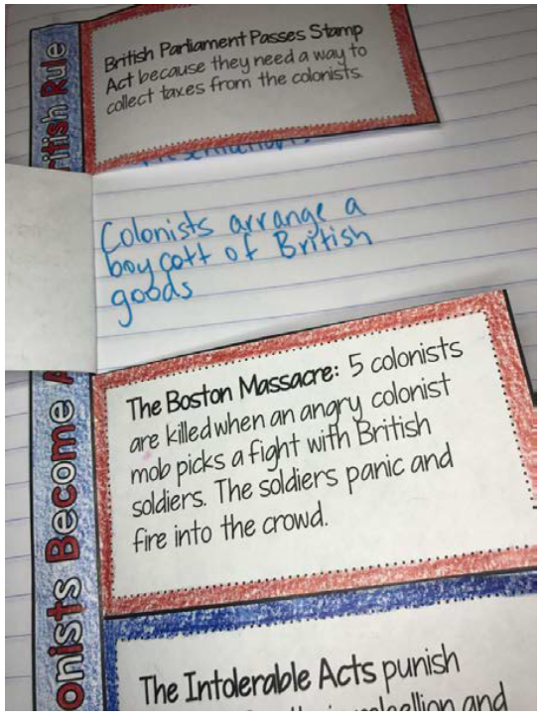
This first example is a cause/effect analysis. Each tab includes an action by the British. Students must analyze each action and, under the tab, write the colonists’ reaction. You know I always include the answers for you, so no late-night analysis is necessary on your part.
Example 2
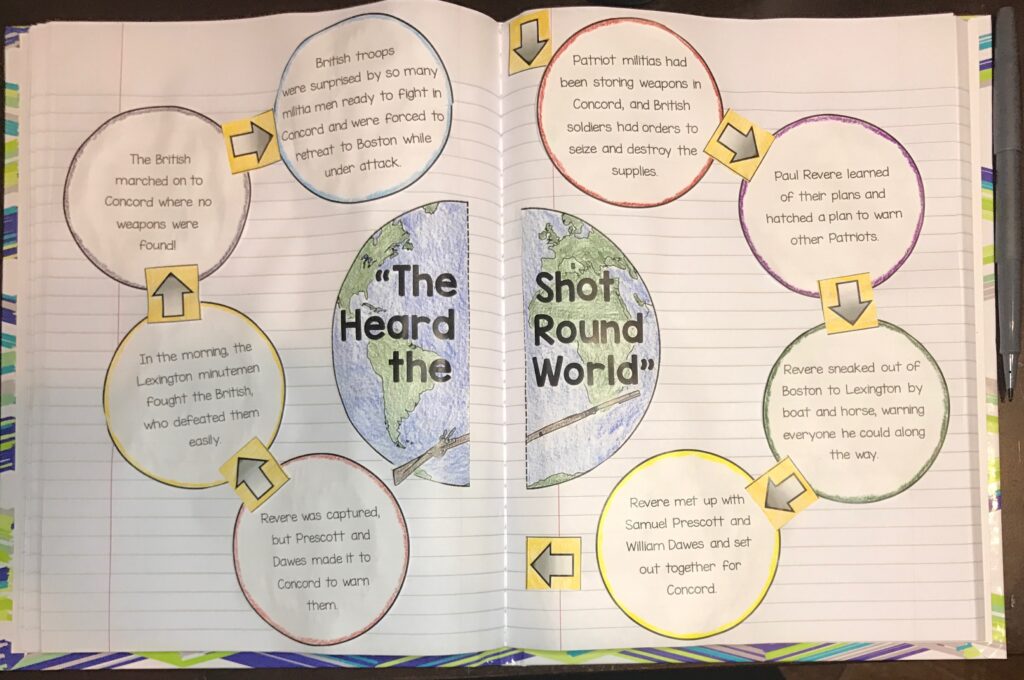
This next example is a simple sequence of events for the night of Paul Revere’s ride. Students can use the pre-filled events or they can write them out themselves, in my/your words or theirs.
Example 3
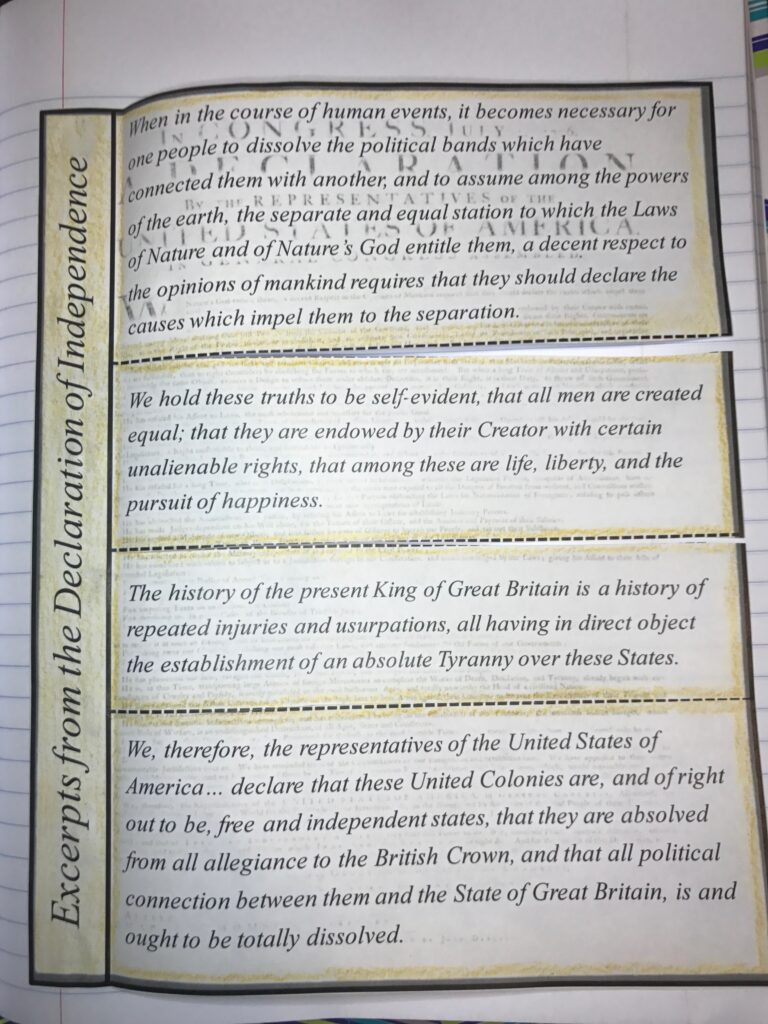
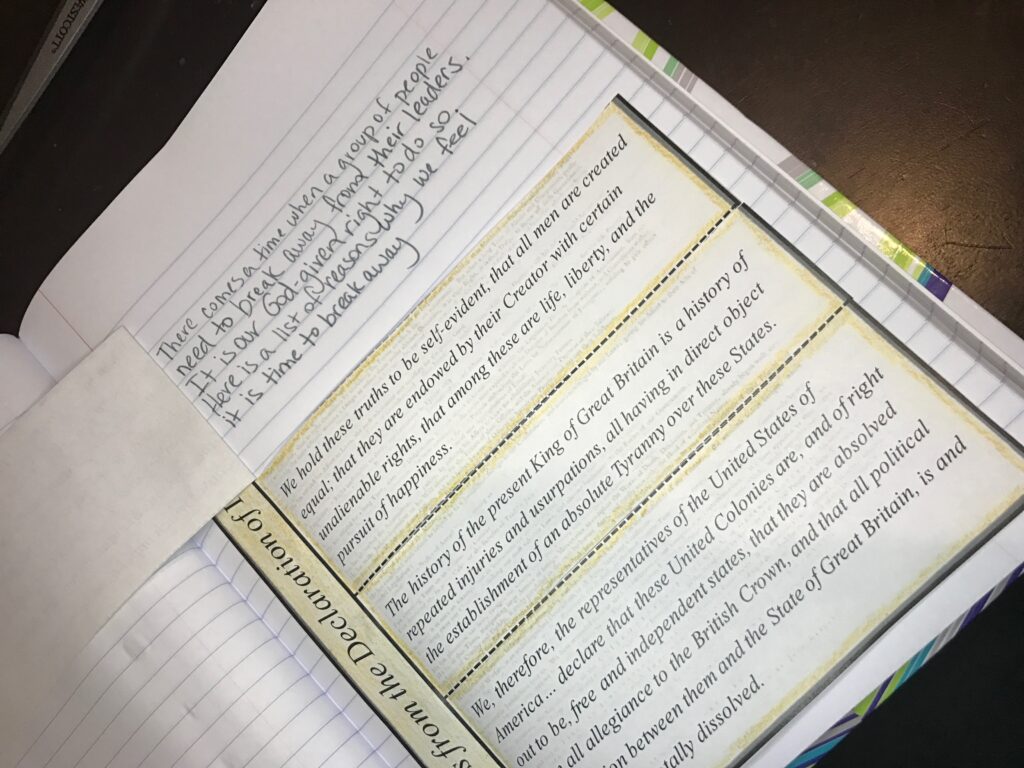
This example includes analyzing a primary source document – in this case, excerpts from the Declaration of Independence. Since using primary source documents is so important when teaching history, almost every unit will include at least one Big Ideas activity that analyzes a relevant primary source document. While this doesn’t make logical sense for every single unit, I have included this type of activity whenever possible. For this analysis, students read the excerpt on top of the tab and write what it means in plain English under the tab. And yes, I’ve already done the plain-English analysis for you. In the next unit, students will carefully analyze the Preamble to the Constitution.
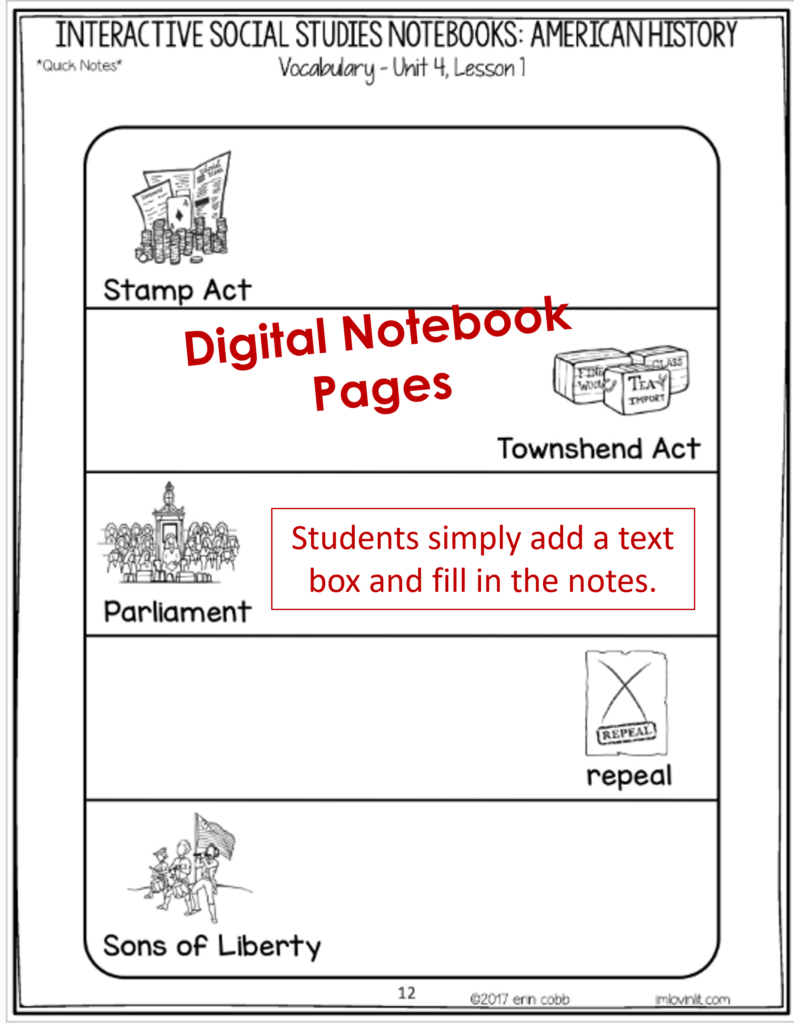
For my social studies interactive notebooks, you don’t have to purchase the Quick Notes separately. I know how useful they are to you, so I’ve included them in the original interactive notebook resource. If you aren’t familiar with my Quick Notes a blog post on how to use these is coming soon. The quick and dirty of it is that these Quick Notes will absolutely save your behind every time you have to deal with absent students, slow notebookers, students with accommodations, new students, time constraints, and other circumstances. Quick Notes help your students get the crucial information into their notebooks faster, and there’s a Quick Notes version for every single interactive notebook page. The Quick Notes comes in two printed versions – in the first version students fills in the notes, and in the second version the notes are pre-filled.
The American History Quick Notes are part of the Interactive Notebook – you don’t have to purchase them separately! And YES, you get the Digital (Google) Interactive Notebook Pages too!
Here are three Quick Notes pages from Unit 4:
I’ve also created PowerPoint presentations for each lesson that include all the components students have in their notebooks.
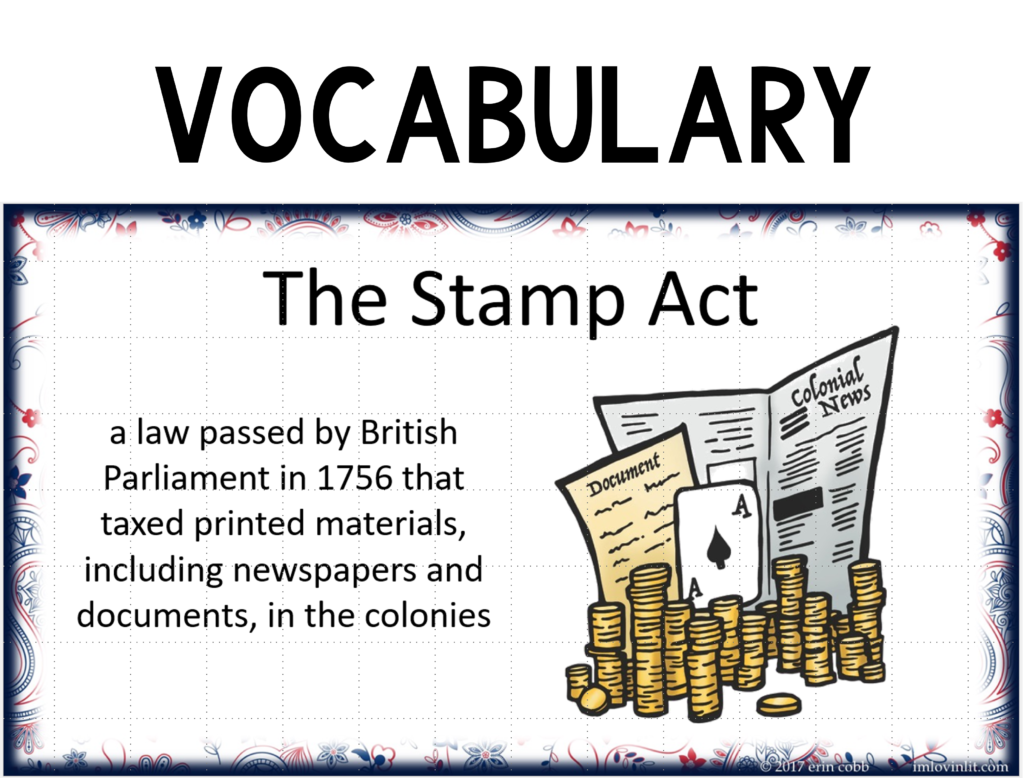
Each vocabulary word, important person, and timeline event has its own slide.
There are several slides to teach each Big Idea.
Display these as your students complete their interactive notebook pages with the notes from the slides, or if you have the equipment available, students can find the information on their own. Need to change the wording, exclude, or add something? I’ve made these PowerPoints fully editable, so customize away.
Here are four slides from Unit 4:
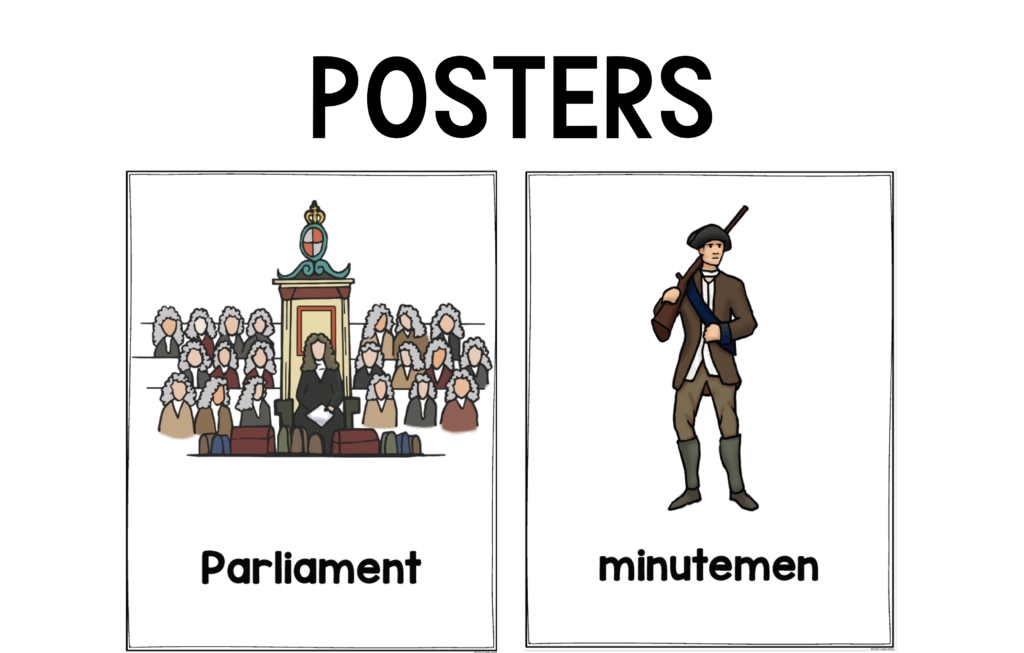
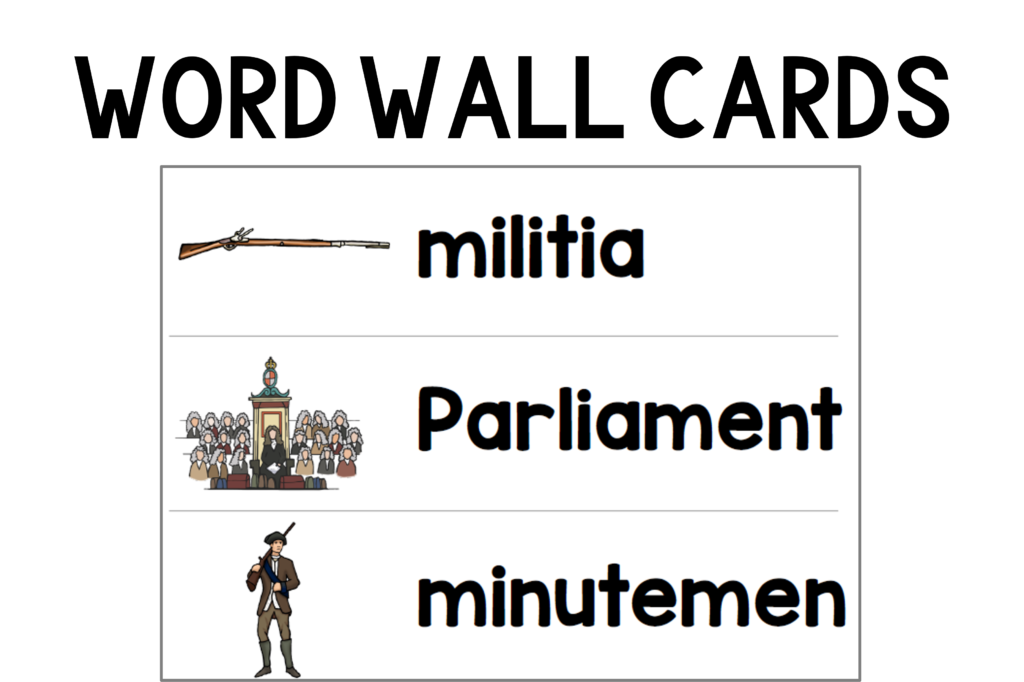
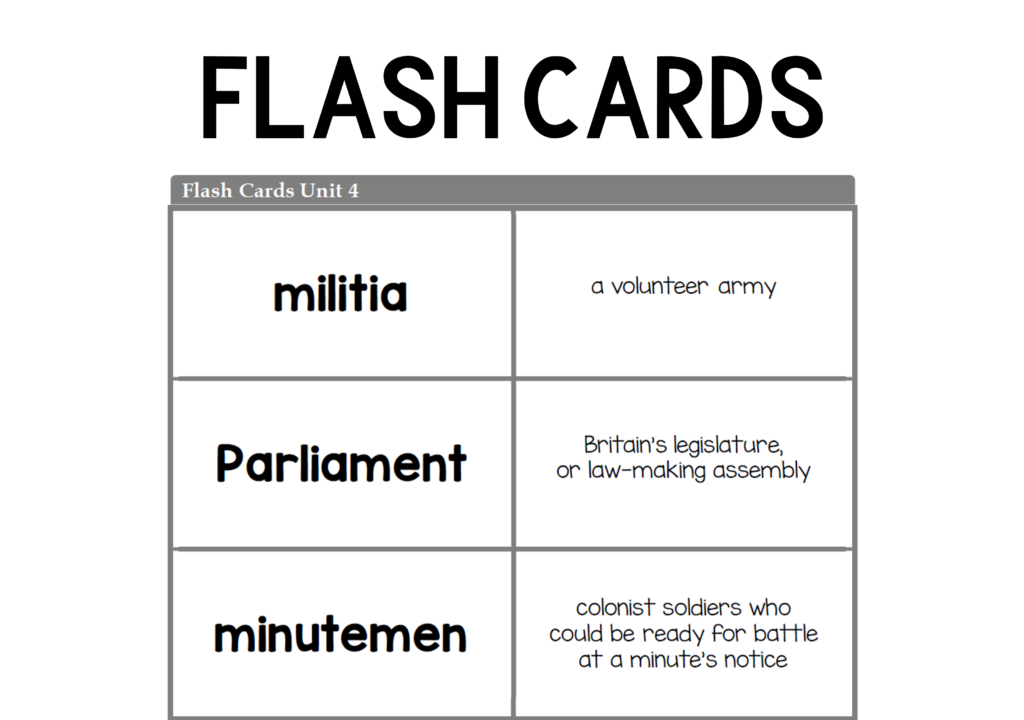
I knew that many of you would want vocabulary posters and/or word wall cards to display while you taught each unit. I also knew that many of you have your students practice their vocabulary with flash cards. So, I created these items for you. They are included in the full curriculum, or you can purchase the Vocabulary Supplement separately for each unit!
Here are examples of each from Unit 4:
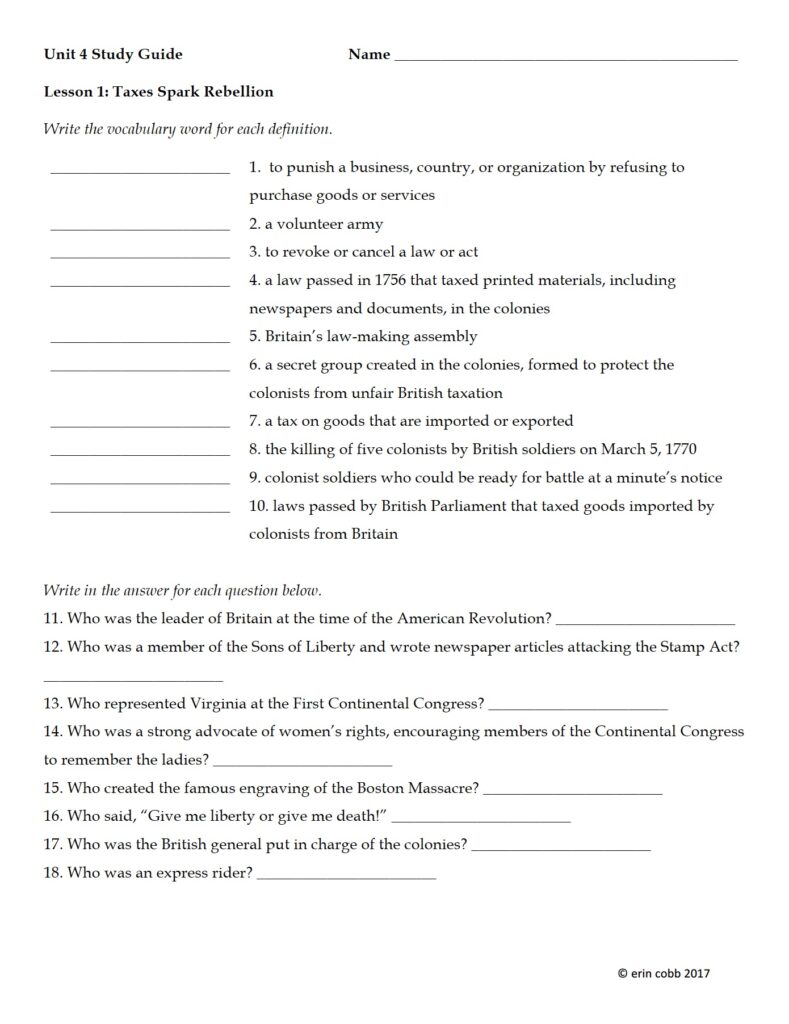
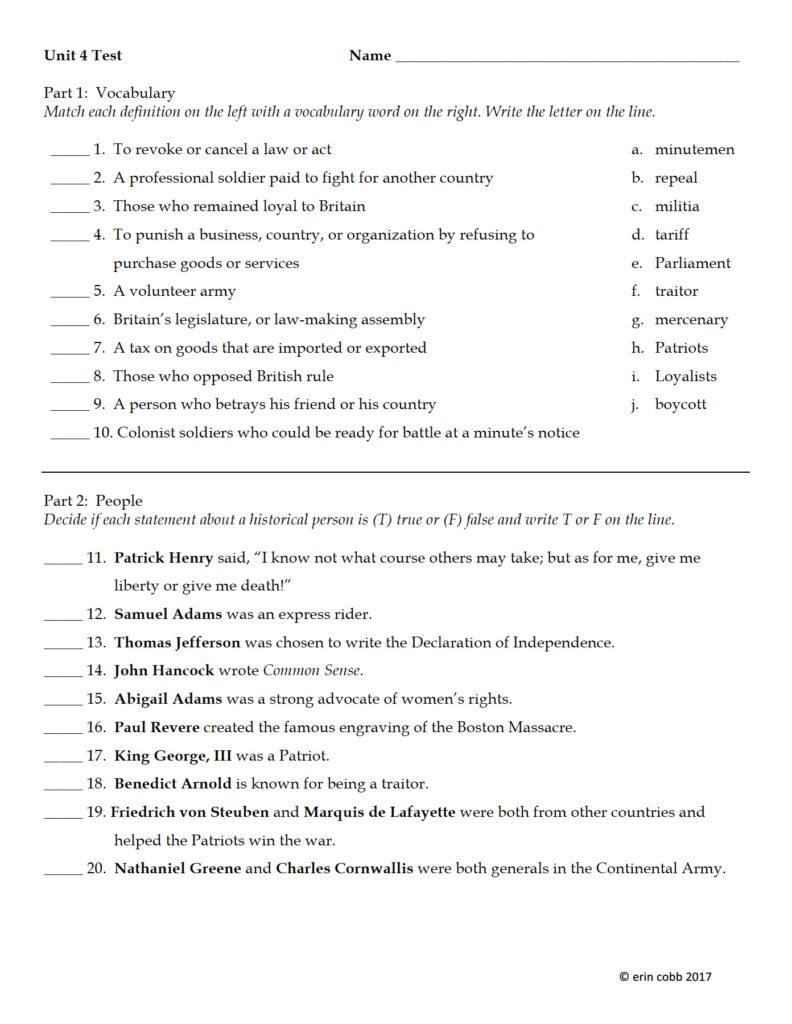
Though they are my least favorite component, assessments are a necessary evil. I’ve created some for you to use and added a study guide for each lesson as well. ALL of the information that is on the unit test can be found on the study guides for each lesson, making it easier for your students to prepare for their tests.
I’ve also included modified tests in the format that my school required that I give them. On the modified test, students are never presented with more than 5 items in a matching group, multiple choice items never have more than two answer choices, and fill-in-the-blank sections always include a word bank. I’m sure there are some circumstances where giving the entire class the modified version is appropriate, so that’s always an option as well.
And I’ve included versions for you to print-and-go, as well as editable versions in MS Word. Here’s a closer peek at a study guide and a test.. And as always, I have included complete answer keys and sample answers for essay questions.
Here is part of a study guide and a test from Unit 4:
I can often predict some of the questions you’ll have about different resources, and I can smell this question coming from a mile away. Do you need a textbook to use this curriculum? Can you use a textbook with this curriculum? The answer is that it is totally up to you. When I taught social studies, I didn’t even assign students a textbook. We rarely, if ever, used the awful ones I had. The beauty of this curriculum is that your students don’t need a textbook because they are creating their own textbooks – their interactive notebooks – complete with every bit of information they need to know. But if you aren’t comfortable dropping the textbook altogether – or if you have a principal who isn’t – then, by all means, use the textbook as a tool. Have your students look for information there before providing it to them. Use the book however you like. Or, don’t. You certainly won’t need one.
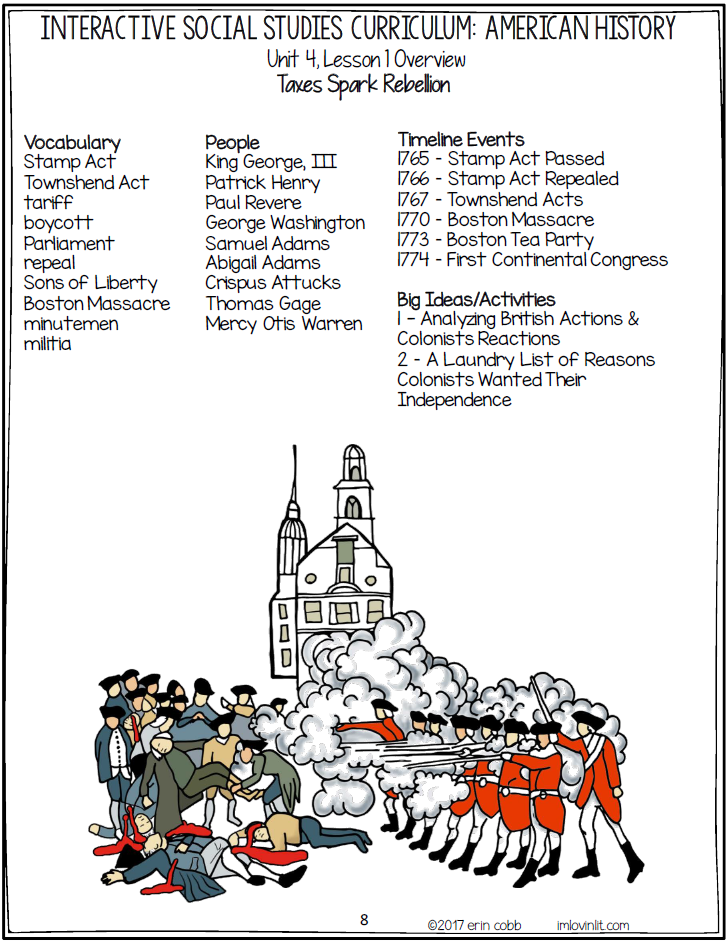
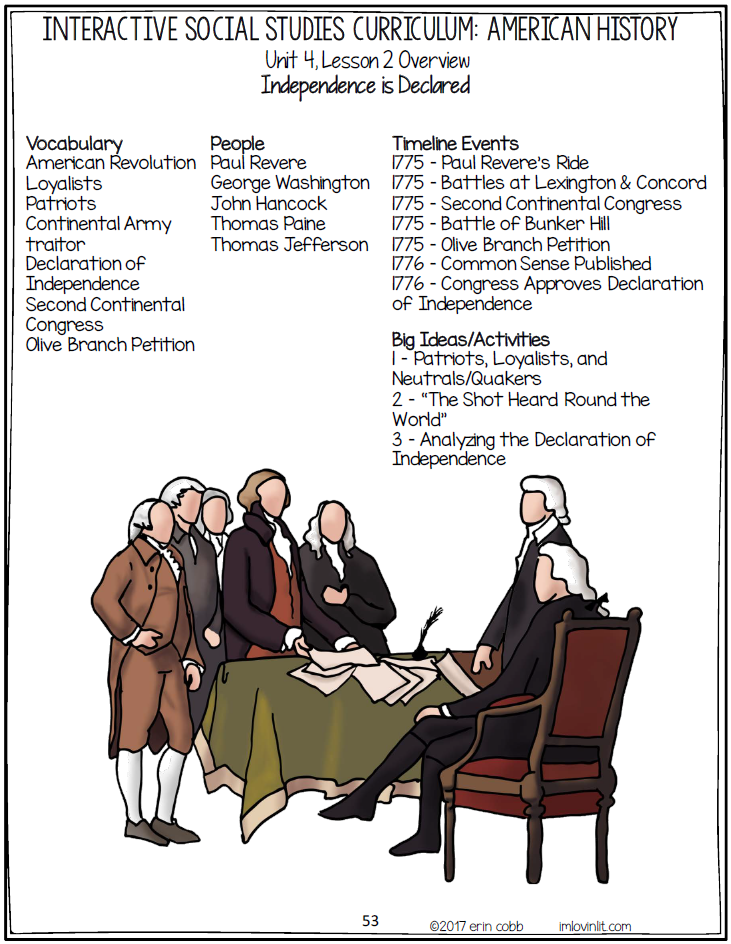
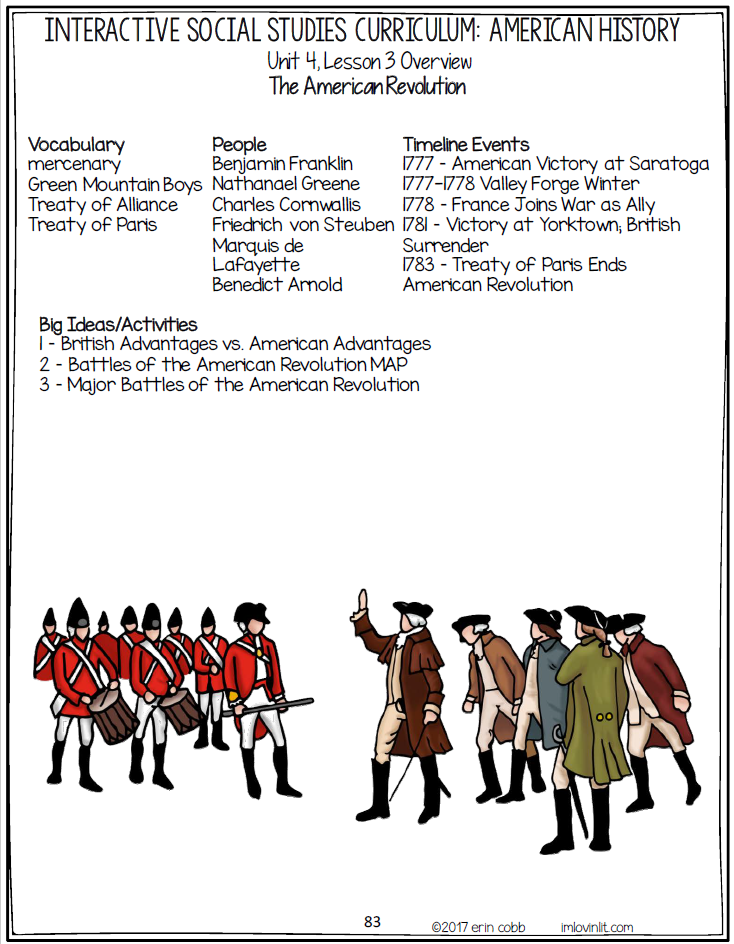
In the Interactive Notebook Files, I’ve included an overview page for each lesson. You can find these in the preview files for each resource. The overview page lists every vocabulary word, person, event, and idea covered in that lesson.
And if you want to add or take away something, you can edit the interactive notebook pages, PowerPoint presentations, and even tests and study guides!
Here are the overview pages for all three lessons in Unit 4:
Many of you already know Heidi from The Doodle Oven, as she created the beautiful coloring pages that go along with my Greek and Latin Roots materials. I love working with Heidi because the stunning materials that she creates always add so much value to my resources when used together. These items are completely optional and are not required to teach the full curriculum – there is nothing that you’ll be missing if you don’t have them. They are simply optional upgrades to the items already included in my curriculum. These items are only available in her store.
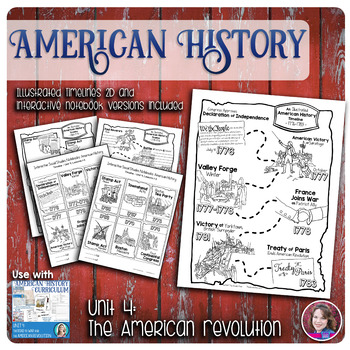
The American history materials that Heidi is creating help teach the events included in each unit. The events and wording in her resources are consistent with those in mine. Here’s a peek at the beautiful visual materials that Heidi has created for you.
Illustrated Timelines
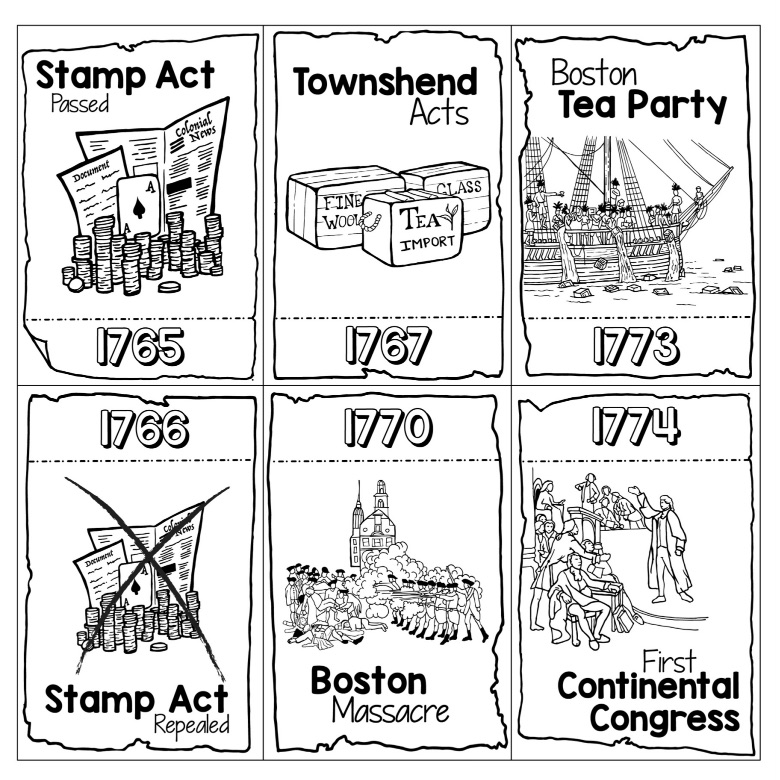
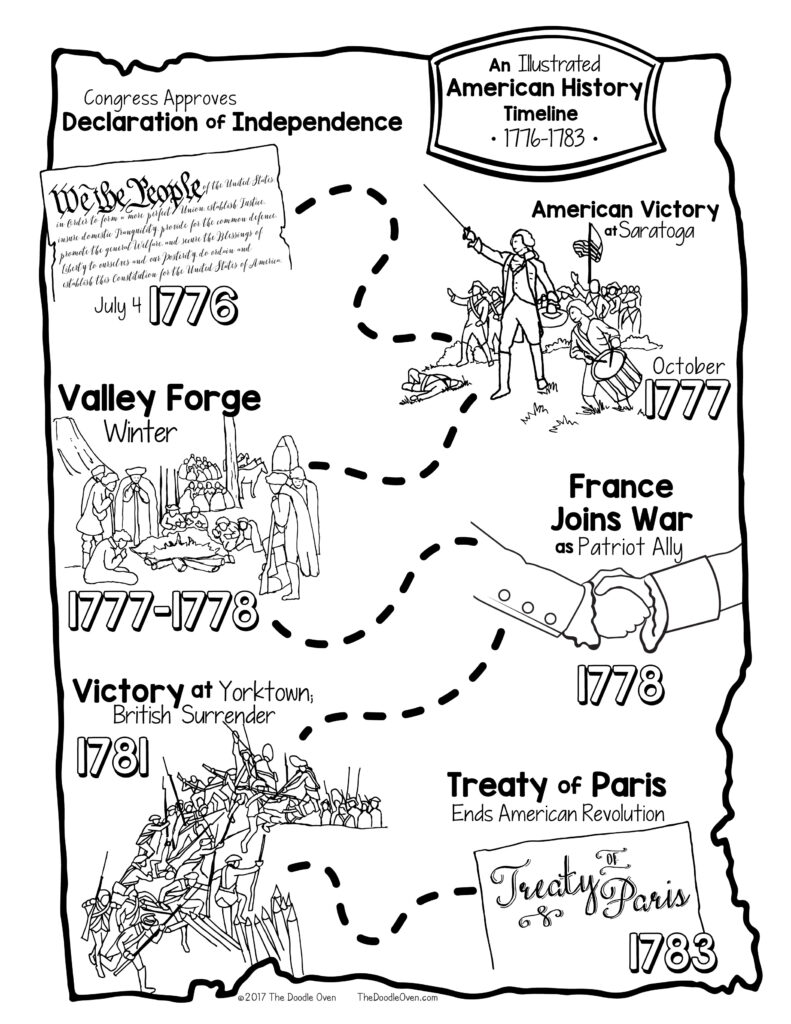
Heidi has taken the text-only tabs from the events pages in my interactive notebook and illustrated each one. You can swap mine out for hers giving your students a 3D timeline for Interactive Notebooks. Or, you can use one of her 2D versions with images and space for writing notes.
Event Posters
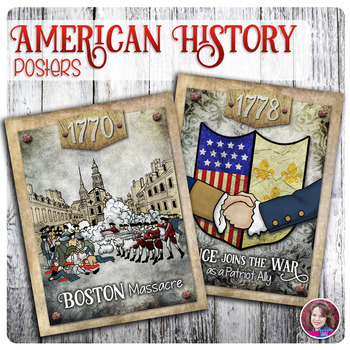
Heidi has also created these bright and colorful event posters for all twelve units. That’s over 200 posters for you to display in your classroom. Keep them up for the duration of the unit, or create an entire timeline wall, adding to it each time you teach a unit.
Event Coloring Pages
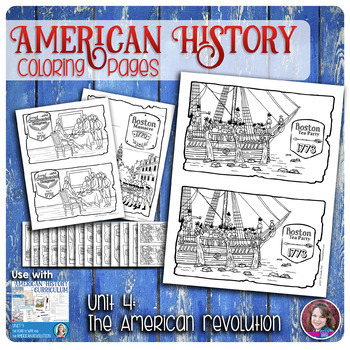
And last but not least, Heidi has created coloring activities. Great visual learning activities for pages. downtime or while differentiating instruction.
If you’d like to assess the overall quality of a bundle,
please click any image to download that resource for free!
© I'm Lovin' Lit • Website by KristenDoyle.co